

Replacing the Sealer and Polishing a New Travertine Tiled Floor in Boston
A regular customer from Boston got in touch with us before Christmas to help with a Travertine floor they had laid in their front room. It turns out that they were so impressed with our previous work that they had decided to replace their lounge carpet with more Travertine.
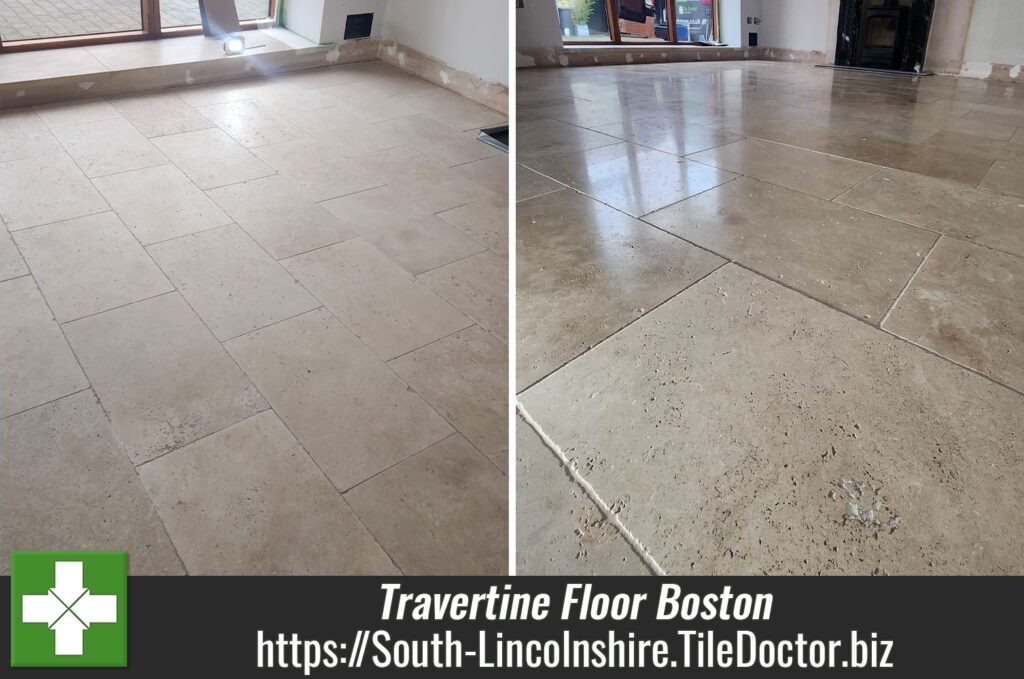
Unfortunately, however the new travertine floor turned out dull and lack lustre despite the tiler putting a sealer on after fitting. Unhappy with the floor appearance I was asked if the floor could be re-finished to match their original Travertine floor that I had worked on previously.

I visited the property to survey the new floor and came up with a plan to strip off the current sealer, polish the stone and then re-seal with the same product that I used previously. They were happy for me to go ahead and we set a date for the work to start which would take two days.

Cleaning and Burnishing a Travertine Tiled Floor
I returned on the agreed date and spent the first day burnishing the new Travertine floor tiles with a set of burnishing pads of different grits. Work starts with a coarse 400-grit pad, attached to a rotary floor buffer. Using water to lubricate the process the pad is run over each tile several times removing the sealer and any remaining dirt in the process.
Afterwards the floor was rinsed using our Rotovac system which applies water under high pressure to the floor dislodging the soils and then extracts the dirty water off the floor at high speed. The burnishing process was then repeated with the finer 800-grit and 1500-grit pads which start building the polish on the stone.
After a final rinse the process was repeated using a very fine 3000-grit pad which is applied dry to the floor using only a little water sprayed onto the tile. This last pad is the final step in the polishing process and leaves a lovely, honed finish on the stone.
During the polishing however it became apparent that the Travertine tiles contained a lot more holes that the other floor. These holes or pits as they are often called are a natural feature of this stone however, they do trap dirt easily so I agreed to fill them. I use a flexible filler for this which is colour matched to the stone and then to go off, I also left a floor dryer system in place overnight to assist with this and further drying out the tiles.

Sealing a Travertine Tiled Floor
Returning the following morning the floor was tested the flooring with a damp meter to make sure it was fully dry. All was well and it was ready to seal with our quality impregnating sealer Tile Doctor Colour Grow which protects the floor from within whilst enhancing the natural colours and tones in the stone. Three coats of sealer were used to ensure the tiles were fully sealed and the result proved to be a good match to their other Travertine floor.

The customer was over the moon with the results and I took time afterwards to remind them about the best way to maintain the floor. For polished stone floors like this one I recommended Tile Doctor Stone Soap which will help maintain the patina on both Travertine floors.

Professional Tile Cleaning, Burnishing and Sealing for a Travertine Tiled Kitchen Floor in Sleaford
Replacing the Sealer and Polishing a New Travertine Tiled Floor in Boston Read More »


 I also ran a stiff grout brush along the edges of the floor and especially along the grout lines to get the grout as clean as possible; the
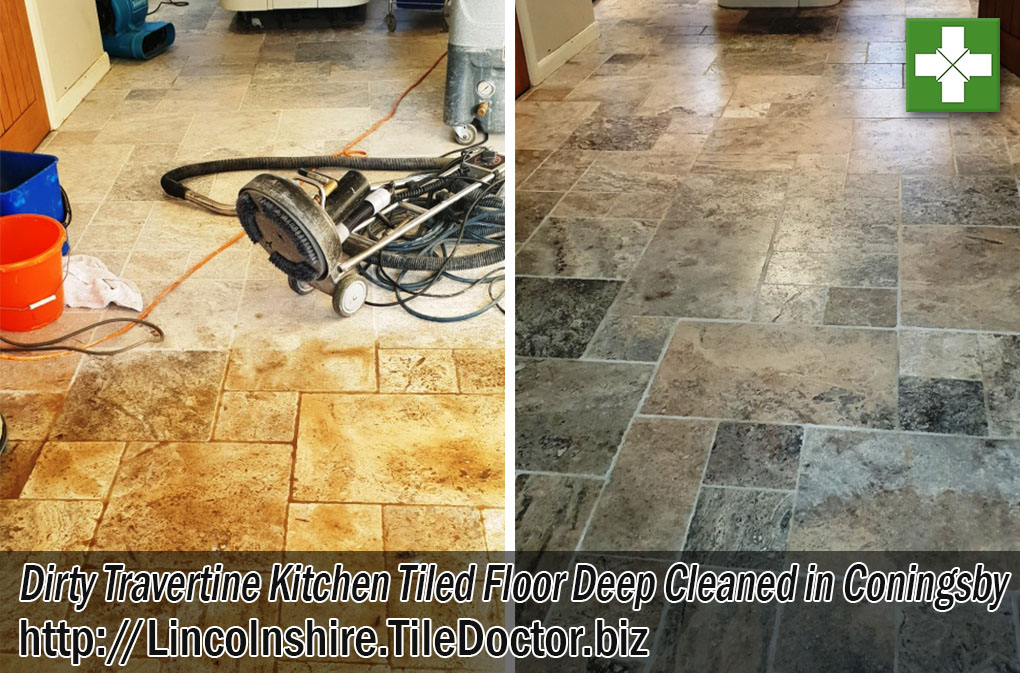
  After the deep clean we filled the holes as required using flexible filler which gives a really smooth look to the flooring. We then left our turbo dryer system on overnight to thoroughly dry out the floor before returning to seal the tiles on day two.
 As you can see from the photographs, the combination of a deep clean, high quality polish and fresh seal really transformed the appearance of the floor from dull and lifeless to a really asset to the kitchen. The customer was so happy with the results she has booked us in to carry out the same work to other flooring in the property.


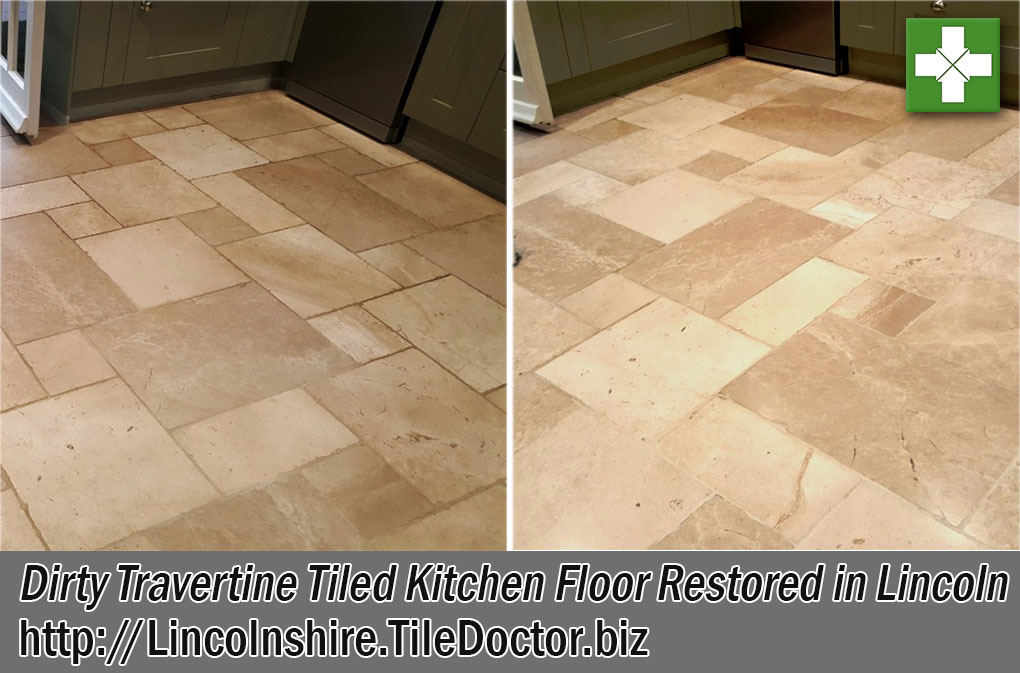
 Ensuring the floor is bone dry before sealing is important as I needed to seal the tiles the next day, and a small amount of excess moisture can cloud the sealer and damage its performance.
 I think you will agree the floor now looks much better, certainly the customer was very happy with the work and left the following feedback:
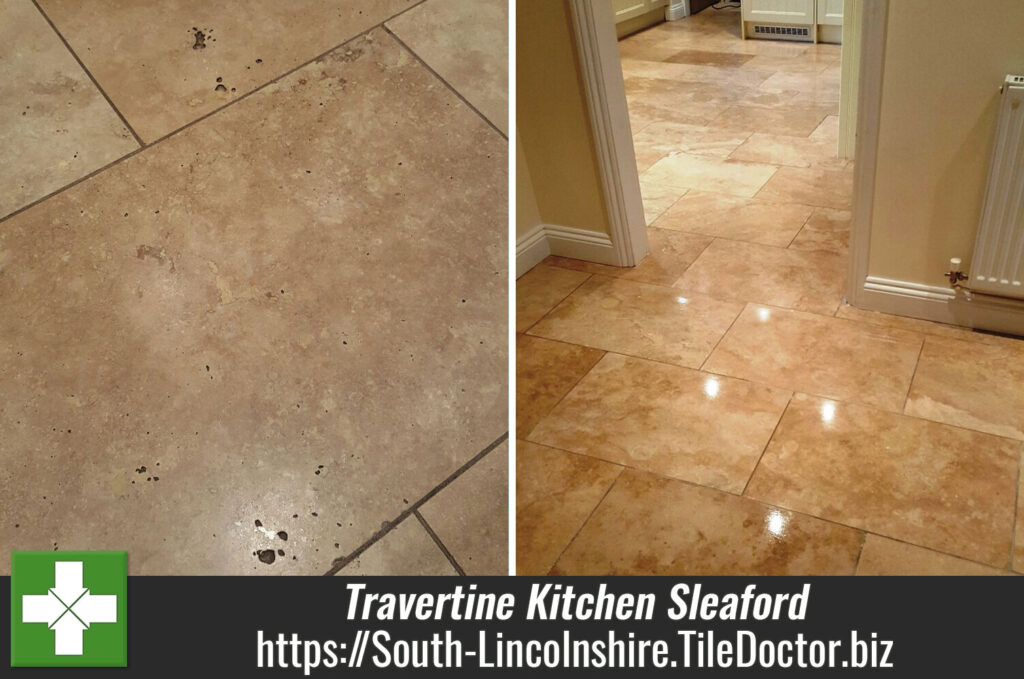


 To round off the first day of the restoration, I used a flexible matching filler to fill up any pitted holes present on the surface of the tiles. Following this, I installed a turbo dryer to make sure the floor would dry fully overnight, and be ready to seal the following day.

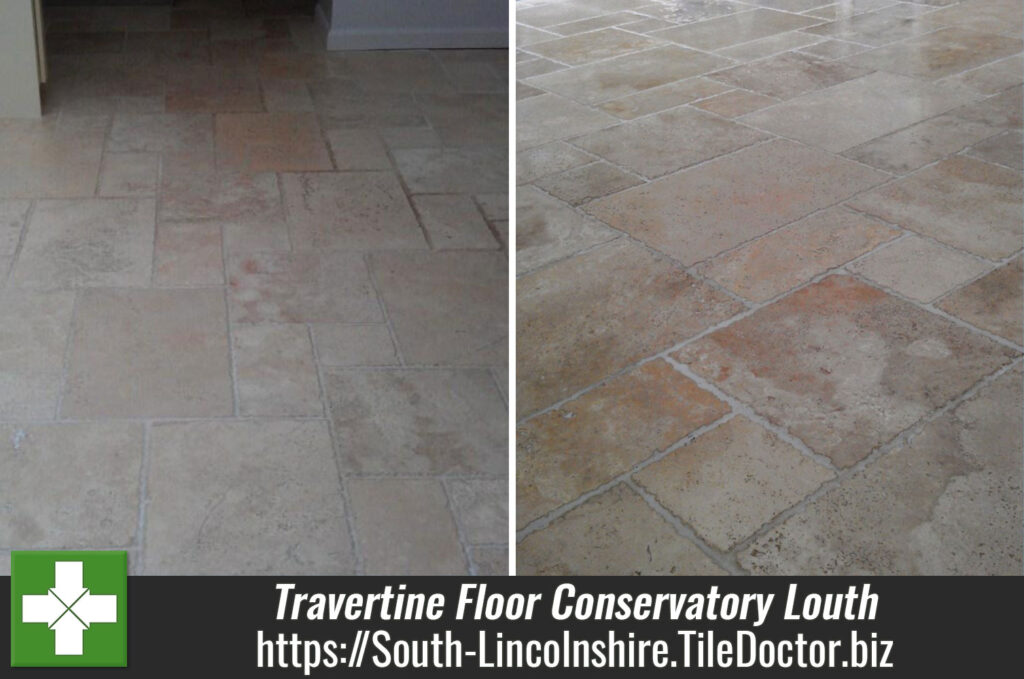


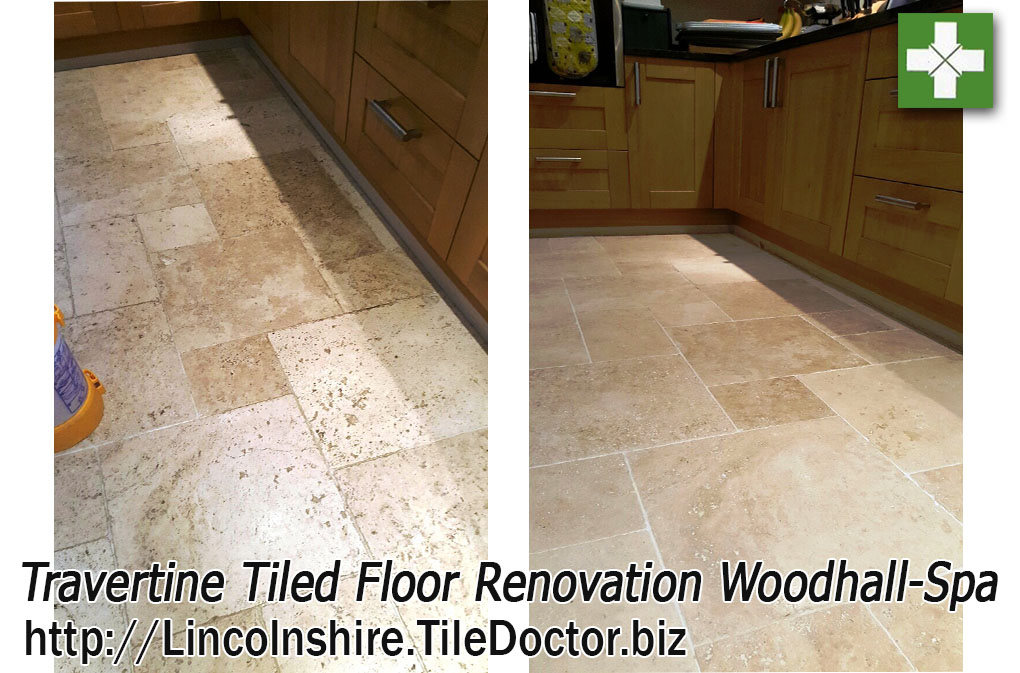
 The last step was to seal the floor which we did using two coats of
  The last photograph shows the effectiveness of the sealer on the surface of the tile, without a sealer the water would have soaked into the travertine, with a sealer it bubbles on the surface allowing spillages to be removed easily before they have chance to stain the stone.